
How to Get Glass Skin in 2026: The Step-by-Step Routine for Poreless, Lit-From-Within Glow
How to Get Glass Skin in 2026: The Step-by-Step Routine for Poreless, Lit-From-Within Glow
If you've ever scrolled through beauty content and stopped dead at someone whose skin looked like it was made of actual light — smooth, clear, reflective, almost wet-looking — you've seen glass skin. And you've probably wondered: is that even real, or is it a filter?
It's real. And more importantly, it's achievable — even if your current skin is dry, uneven, or dotted with texture. Glass skin isn't a skin type you're born with. It's a result you build, layer by layer, with the right products in the right order. This guide breaks down exactly how, with the science behind every step so you know why it works, not just what to do.
What Is Glass Skin, Exactly?
The term comes from Korean beauty culture — yuri piboo (유리 피부) — and it describes skin so hydrated, smooth, and luminous that it appears to reflect light the way glass does. Think: no visible pores, no dry patches, no dull tone. Just a seamless, dewy, almost translucent glow.
The key thing to understand is that glass skin is primarily a hydration achievement, not a makeup achievement. Highlighting and strobing can mimic the look, but the real version comes from flooding your skin with moisture at multiple layers until your complexion becomes genuinely reflective on its own. That's why the Korean skincare approach uses multiple lightweight hydrating layers rather than one heavy moisturizer — each layer adds depth that a single product simply can't.
The 4 Pillars of Glass Skin
Before walking through the routine, it helps to understand the four things glass skin actually requires. Miss any one of these and the results will be inconsistent.
Pillar 1: Deep, Multi-Layer Hydration. Glass skin lives and dies by water content in the skin. Products containing hyaluronic acid, glycerin, beta-glucan, and polyglutamic acid are your core tools here. These humectants pull moisture into the skin and hold it there.
Pillar 2: A Smooth, Intact Skin Barrier. Hydration means nothing if your barrier is compromised — it'll evaporate right back out. Ceramides, niacinamide, and fatty acids are the repair agents that keep moisture locked in and irritants locked out.
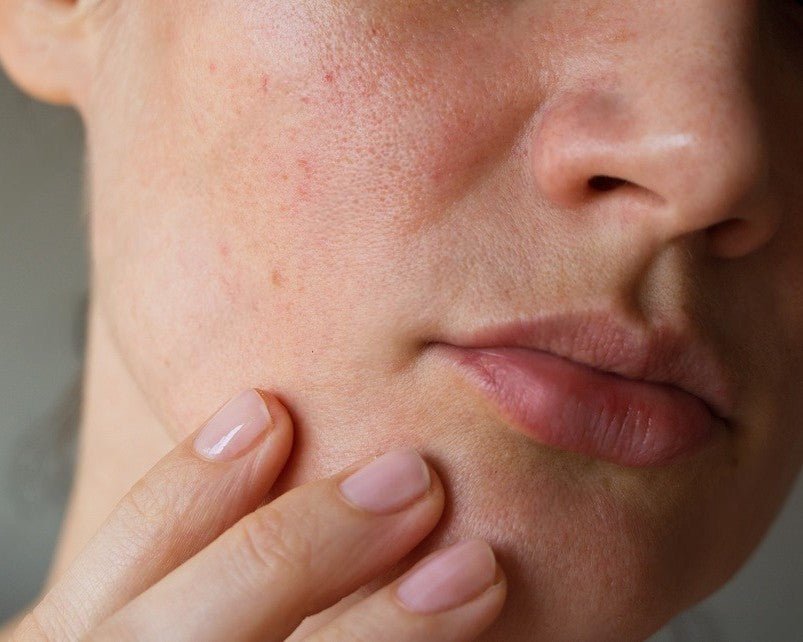
Pillar 3: Clear, Even Skin Tone. Glass skin is translucent, which means any hyperpigmentation, redness, or post-acne marks will show through. Consistent use of Vitamin C, niacinamide, and gentle exfoliation over time is what creates that even base.
Pillar 4: Internal Hydration and Nutrition. What goes into your body shows up on your face faster than most people realize. Collagen supplements, Omega-3s, and adequate water intake are the unsexy but genuinely powerful backstage crew behind glass skin.
The Complete Glass Skin Routine (Morning & Night)
Morning Routine
Step 1: Gentle Gel or Foam Cleanser
The goal of your morning cleanse isn't to deep-clean — your skin isn't actually dirty when you wake up. It's to remove overnight skincare residue and prep a fresh canvas. Use a low-pH gel or foam cleanser that doesn't strip. You should never feel tight or squeaky after washing your face; that tightness is your skin barrier waving a distress flag.
Step 2: Hydrating Toner (Layer Twice)
This is where glass skin diverges from a standard Western routine. Apply a lightweight hydrating toner — something with glycerin, aloe, or hyaluronic acid — wait 20 seconds, and apply a second layer. This double-layer technique, called skin flooding, is a cornerstone of Korean skincare. The first layer starts the hydration process; the second pushes moisture deeper and prepares the skin to absorb everything that follows more effectively.
Shop the Everbeaut Edit: Look for alcohol-free toners with hyaluronic acid or beta-glucan in our skincare collection.
Step 3: Vitamin C Serum
Morning is the ideal time for Vitamin C because it works synergistically with sunscreen to defend against UV damage and environmental pollution — the two biggest accelerators of dull, uneven skin. Apply 3–5 drops, press (don't rub) into the skin, and let it absorb for a full minute before moving on. L-ascorbic acid at 10–20% concentration is the most effective form; if your skin is sensitive, look for ascorbyl glucoside or sodium ascorbyl phosphate, which are gentler and still deliver strong results over time.
Step 4: Hyaluronic Acid Serum (on damp skin)
This is one of the most overlooked technique details in skincare: hyaluronic acid needs moisture to work. Apply it while your skin is still slightly damp from the toner step — or mist your face lightly before application. HA is a humectant, which means it draws water from its surroundings. On dry skin in a dry environment, it can actually pull moisture out of your deeper skin layers. On damp skin, it pulls that surface water in and holds it there. It's a small change that makes a significant difference in glow payoff.
Step 5: Lightweight Moisturizer
The moisturizer's job here is to seal everything you've applied and prevent trans-epidermal water loss. Look for a gel-cream or water-gel formula for daytime — something that absorbs fast and doesn't pill under SPF. Niacinamide in your moisturizer is a bonus: it minimizes the appearance of pores, evens skin tone, and strengthens the barrier simultaneously.
Step 6: SPF 30–50 (Non-Negotiable)
Sun damage is the single biggest destroyer of glass skin. UV exposure breaks down collagen, triggers hyperpigmentation, and degrades the smooth, even canvas you're working so hard to build. A mineral SPF with zinc oxide gives a natural soft-focus, slightly luminous finish that actually complements the glass skin look. Apply generously — most people apply about 25% of the recommended amount, which cuts protection dramatically.
Everbeaut Tip: Apply SPF as your final step and let it sit for 2–3 minutes before makeup. This prevents the dreaded pilling effect.
Night Routine (Where the Real Work Happens)
Your skin repairs itself primarily while you sleep. Nighttime is when you make the real investments in glass skin.
Step 1: Double Cleanse
If you wore sunscreen, makeup, or both during the day, a single cleanser won't fully remove them — especially SPF, which is designed to be water-resistant. Start with an oil-based cleanser or micellar oil to dissolve sunscreen and makeup, then follow with your gel cleanser. This two-step process ensures you're actually working with clean skin, not skin that still has a film of SPF blocking your actives.
Step 2: Exfoliating Toner (2–3 Nights Per Week)
On exfoliation nights, swap your hydrating toner for one containing AHAs (glycolic or lactic acid) or PHAs (polyhydroxy acids, which are gentler and ideal for sensitive skin). These chemical exfoliants dissolve the bonds holding dead skin cells together, revealing the smoother, brighter skin underneath. This is what creates that seamless, pore-minimized texture that glass skin requires. Don't exfoliate every night — 2–3 times per week is plenty, and overdoing it is a fast track to a damaged barrier and angry, reactive skin.
On non-exfoliation nights, use your hydrating toner as normal.
Step 3: Treatment Serum (Retinol or Niacinamide)
Two nights per week, introduce a retinol serum (start at 0.025%–0.1% if you're new to it and work up slowly). Retinol accelerates cell turnover, stimulates collagen production, and fades dark spots over time — making it one of the most well-researched ingredients in all of skincare. On the nights you're not using retinol, a niacinamide serum helps regulate oil, strengthen the barrier, and continue refining tone. Never use retinol and AHA exfoliants on the same night — that combination can cause significant irritation.
Step 4: Eye Cream
The skin under your eyes is the thinnest on your face, and it's where dehydration shows up first as fine lines and dullness. Apply a pea-sized amount of a peptide-rich or caffeine-based eye cream using your ring finger — the lightest pressure of all your fingers — by tapping gently around the orbital bone.
Step 5: Moisturizer or Sleeping Mask
On regular nights, your moisturizer from the AM routine works here too. On nights you really want to supercharge results — or if you're in an air-conditioned or heated environment that strips moisture — layer a sleeping mask on top. Sleeping masks are occlusive, meaning they form a seal over everything underneath and prevent water loss while you sleep. Wake up noticeably more plump and glowy.
Step 6: Facial Oil (Optional Finishing Step)
A few drops of a non-comedogenic facial oil pressed over your moisturizer completes the glass skin look overnight by locking in every layer beneath it. Squalane, rosehip oil, and marula oil are excellent choices — they're lightweight, absorb well, and won't clog pores. This is the step that takes your morning glow from "nice" to "lit from within."
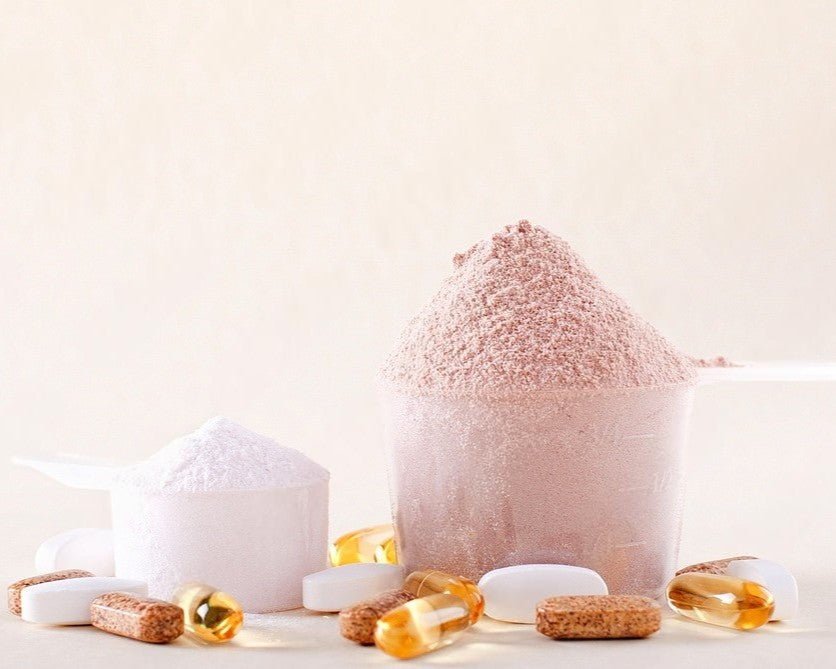
The Glass Skin Diet: What You Put In Shows on Your Face
No topical routine fully compensates for what's happening internally. Glass skin accelerates dramatically when you support it from the inside out.
Collagen Supplements: Hydrolyzed collagen peptides are clinically shown to improve skin elasticity, hydration, and smoothness with consistent use over 8–12 weeks. Mix a collagen powder into your morning coffee, smoothie, or water — it's tasteless, effortless, and genuinely delivers results you can see.
Omega-3 Fatty Acids: Found in fish oil supplements and flaxseed, Omega-3s reduce skin inflammation, strengthen the cell membrane (which directly affects how plump and reflective skin looks), and support sebum regulation. If your skin has been feeling rough, dull, or reactive, an Omega-3 deficiency may be part of the picture.
Water Intake: Aim for a minimum of 2–3 liters per day. Dehydrated skin looks flat, shadowed, and emphasizes every line and texture. Well-hydrated skin looks full, bouncy, and catches light naturally.
Browse Everbeaut's wellness and supplement collection to find collagen peptides, Omega-3s, and skin-support formulas that complement your glass skin routine.
Common Glass Skin Mistakes (and How to Fix Them)
Applying HA serum to dry skin. As covered above, this can actually dehydrate you in dry climates. Always apply to damp skin or mist first.
Exfoliating too often. More is not more with chemical exfoliants. Over-exfoliating destroys your skin barrier, leading to redness, sensitivity, and a dull, compromised complexion — the exact opposite of glass skin. Stick to 2–3 times per week maximum.
Skipping SPF. Sun damage undoes everything. There is no glass skin routine that works long-term without daily SPF. Full stop.
Rushing layers. Each product needs 20–30 seconds to partially absorb before you apply the next one. Stacking too fast creates pilling and prevents proper absorption.
Expecting overnight results. Glass skin is a 4–8 week project, minimum. The hyaluronic acid and toner layers will make a difference within days, but the real transformation in texture and tone comes from consistent exfoliation and barrier-building over weeks.
Glass Skin FAQ
Can you achieve glass skin with oily or acne-prone skin? Yes — and in some ways, it's easier, because oily skin is naturally more hydrated. The key is using non-comedogenic, water-based layers and not over-stripping with harsh cleansers (which triggers more oil production). Niacinamide is your best friend: it regulates oil, minimizes pores, and improves tone simultaneously.
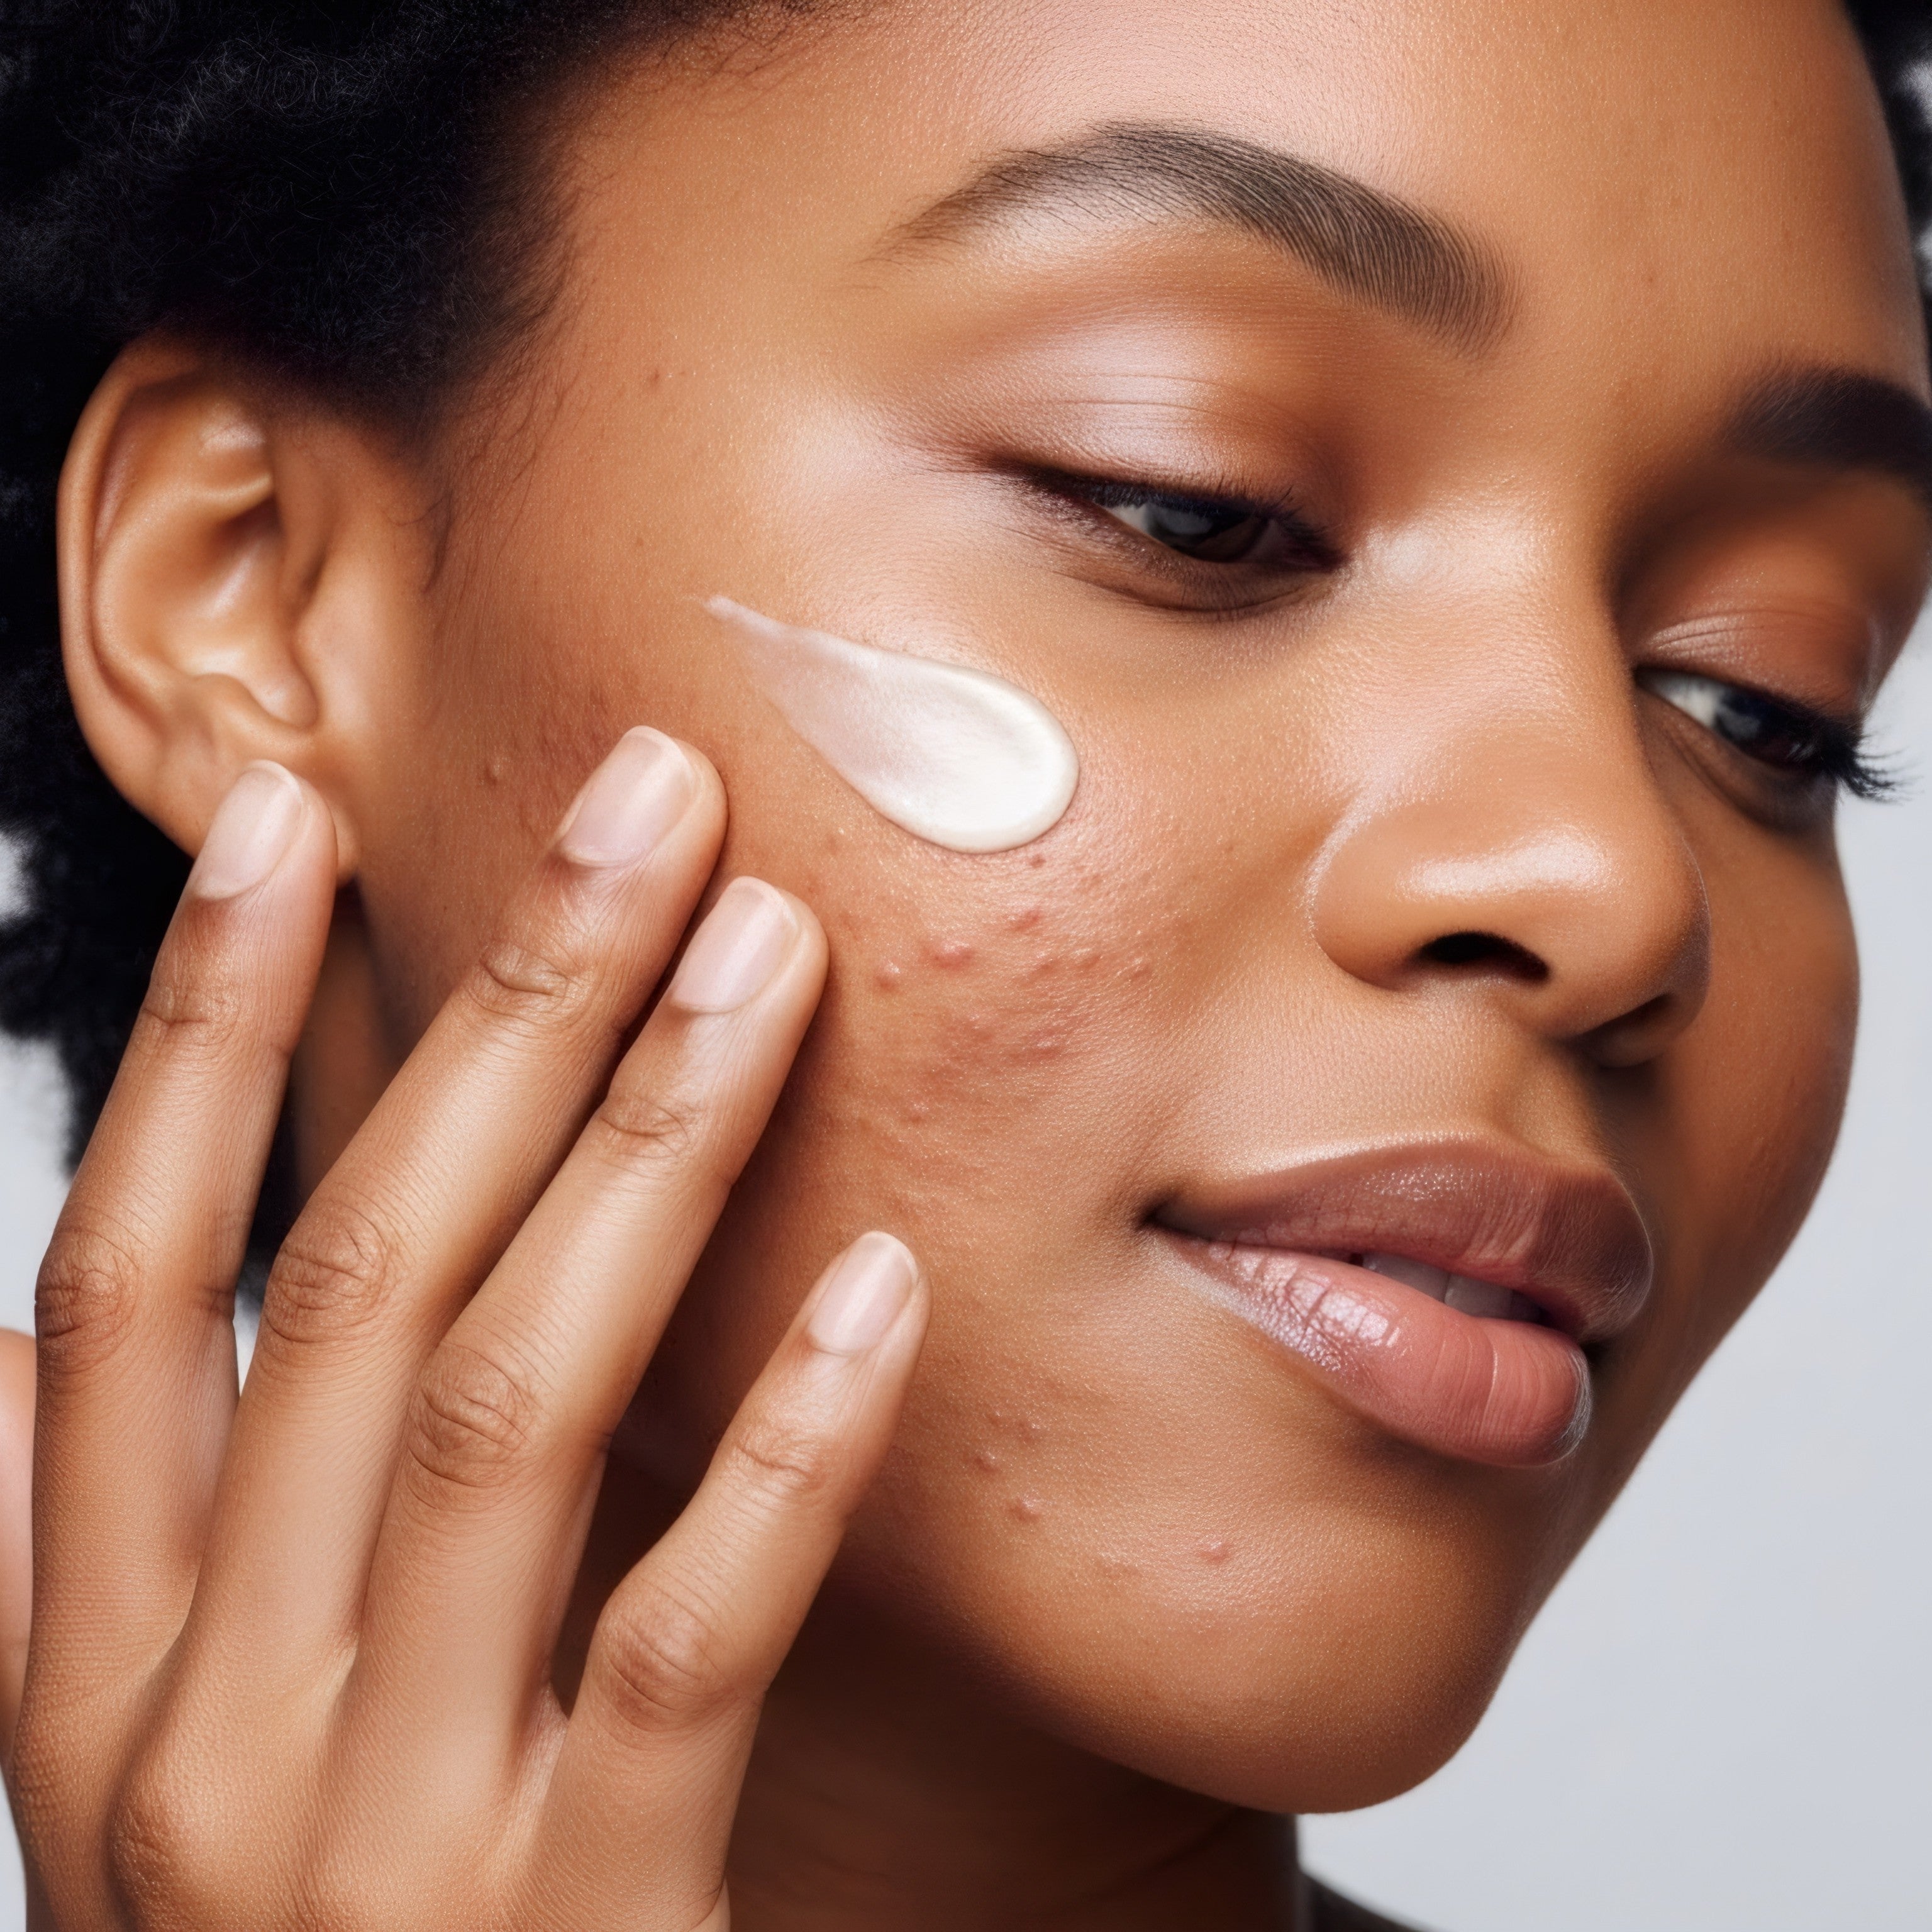
Does glass skin work for darker skin tones? Absolutely. The pillars of glass skin — hydration, barrier health, even tone, and luminosity — apply universally. Vitamin C and niacinamide are especially effective for hyperpigmentation on deeper skin tones, and the overall glow payoff can be even more dramatic.
How long does the routine take? Morning routine: 5–7 minutes. Night routine: 8–10 minutes. The layering adds time, but not much — you're waiting 20 seconds between products, not minutes.
Do I need to buy all new products? Not necessarily. Audit what you already have. If you have a Vitamin C serum, a HA serum, a moisturizer, and an SPF, you're most of the way there. The missing pieces for most people are a hydrating toner (for the double-layer step) and a gentle chemical exfoliant.
Your Glass Skin Starts Today
Glass skin is not a filter, a lucky genetic roll, or an exclusive privilege of K-beauty influencers. It's a system — and now you have the whole system in front of you. Start with the hydration layers first, add the exfoliation step after a week, and introduce retinol slowly a few weeks after that. Be consistent, protect your barrier, wear your SPF, and support the process from the inside out.
The glow you've been trying to achieve? It's already under the surface. The right routine just brings it forward.
[Shop the Everbeaut Skincare Collection →] Browse serums, toners, moisturizers, supplements, and more — everything you need to build your glass skin routine from the inside out.
Written by Jake Mitzkovitz
