
The Complete 2026 Eye Makeup Guide: How to Apply Eyeshadow, Eyeliner & Mascara for Stunning Results
The Complete 2026 Eye Makeup Guide: How to Apply Eyeshadow, Eyeliner & Mascara for Stunning Results
Your eyes are the most expressive feature on your face — and the right eye makeup can transform your entire look in minutes. Whether you're going for a barely-there daytime glow, a bold smoky eye, or a graphic liner look that turns heads, knowing how to apply eye makeup correctly makes all the difference.
In 2026, eye makeup is having a major moment. From blurred liner and ultra-glossy lids to feathery lashes and colorful eyeshadow pairings, this year's trends are all about making your eyes the focal point of your beauty routine. But before you can master the trends, you need to master the fundamentals.
This complete guide covers everything: eye primer, eyeshadow placement and blending, eyeliner for every eye shape, and mascara application tips for longer, fuller-looking lashes. Plus, we'll show you exactly which Everbeaut products will take your eye game to the next level.
Step 1: Start With Eye Primer (The Step Most People Skip)
If there's one step separating a five-hour eye look from one that lasts all day, it's eye primer.
Eye primer prevents creasing and fading, intensifies your eyeshadow's pigment, and creates a smooth, even base so everything blends more easily. Apply a small amount to your lids and blend up to the brow bone before any other eye product. Let it set for 30 seconds before moving on.
Pro tip: If you don't have a dedicated eye primer, a small amount of concealer set with a translucent powder works as an excellent substitute.
Step 2: Eyeshadow — Placement, Blending & Technique
Eyeshadow is where most people either shine or struggle. The key isn't talent — it's understanding the technique.
Understanding Eye Anatomy for Shadow Placement
To place shadow correctly, you need to know three core zones:
- Lid — Your main canvas. This is where your base color goes.
- Crease — The fold above the lid. This is where you build depth and dimension.
- Brow bone — The area just under your brow arch. This is where your highlight goes.
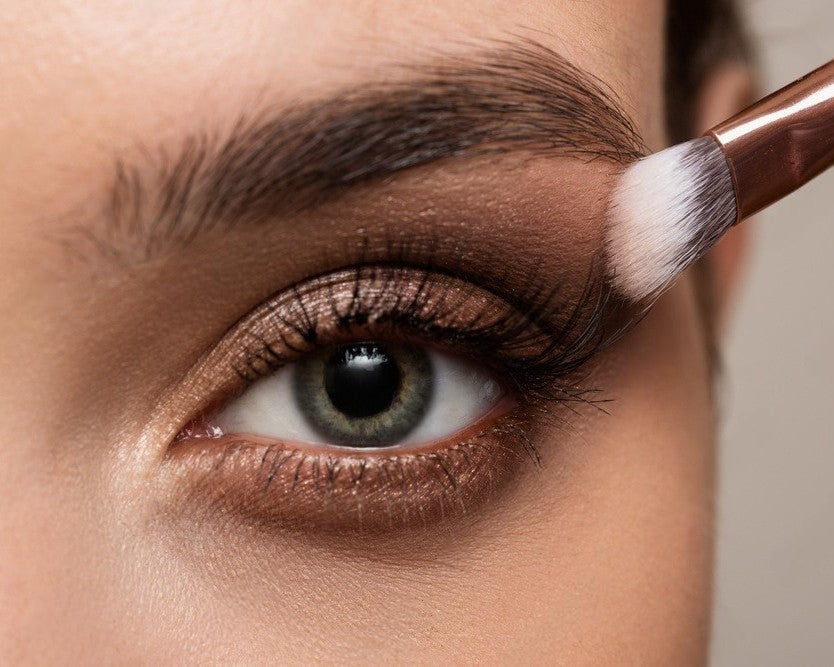
The Classic Eyeshadow Technique (Works for Every Eye Shape)
1. Apply a light base shade all over the lid. Use a fluffy blending brush to sweep a light, neutral matte shade from lash line to brow bone. This unifies the lid and gives you a clean canvas to build on.
2. Add a mid-tone shade to the crease. Using a windshield-wiper motion, blend a warm brown, taupe, or muted berry into the crease for subtle definition.
3. Deepen the outer corner. Press a deeper shade — dark brown, plum, or charcoal — into the outer V of the eye. Blend inward for a seamless gradient.
4. Apply shimmer or glitter to the center of the lid. A metallic, duochrome, or shimmery shade on the center of the lid makes eyes appear larger and adds a glass-like quality that catches the light.
5. Highlight the inner corner and brow bone. Tap a champagne or light shimmer shade to the inner corner (this instantly opens up the eyes) and blend softly along the brow bone.
The Right Brushes Make All the Difference
- Flat shader brush — packs color onto the lid
- Fluffy blending brush — blends out harsh edges in the crease
- Small pencil brush — precise placement in the outer corner and lower lash line
- Fan brush — applies highlight cleanly to the brow bone
Pro tip: Blend with circular and windshield-wiper motions — never drag in straight lines, which creates visible lines rather than seamless color.
2026 Eyeshadow Trends Worth Trying
- Blurred pastels — Dusty rose, lavender, or sage blended softly above the crease for a dreamy daytime effect
- Monochromatic eyes — Same tone from lid to brow in terracotta, coral, or bronze
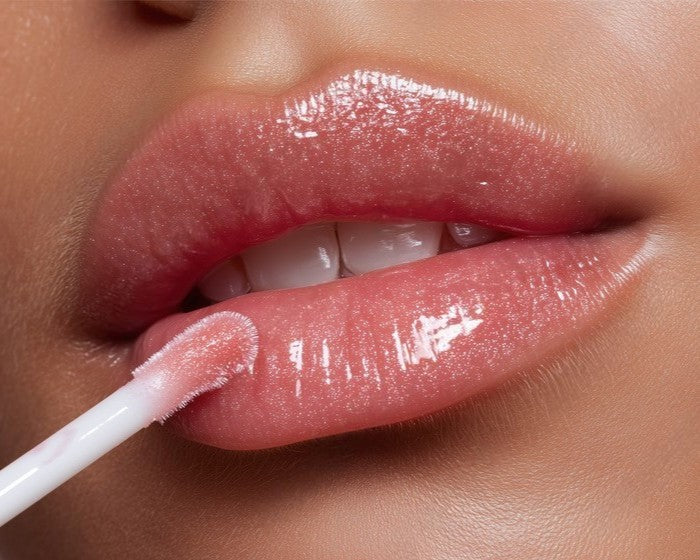
- Glossy lids — A clear lid gloss or sheer shimmer applied over dry shadow for a wet, dimensional finish
- Colorful lower lash line — A pop of teal, cobalt, or orange under the lower lash line for an editorial twist
Step 3: Eyeliner — Every Style, Every Eye Shape
Eyeliner is the most transformative product in your eye makeup kit. The right technique can make small eyes appear larger, round eyes more almond-shaped, and hooded eyes more open.
Eyeliner Types & What They Do Best
Pencil liner — best for smudgy, lived-in looks and beginner application on the lower lash line.
Liquid liner — best for precise, graphic, and sharp wings. High-impact with a clean finish.
Gel liner — smudge-proof and intensely pigmented. Ideal for the waterline and long-wear applications.
Felt-tip liner — easy control for cat eyes and wings. Great for everyday use.
Kohl liner — soft and diffused. Perfect for smoky, romantic looks.
How to Apply a Classic Winged Liner
- Look straight ahead into a mirror at eye level — not looking up into the ceiling, which distorts the line.
- Start with a thin line at the inner corner, thickening gradually as you move toward the outer corner.
- At the outer corner, draw a small flick upward, angled toward the tail of your brow.
- Connect the flick back to the upper lash line to form a filled triangle.
- Clean up any wobbles with a cotton swab dipped in micellar water or a small concealer brush.
Wing angle by eye shape:
- Almond eyes — Any angle works beautifully
- Hooded eyes — Draw the wing with eyes open (not closed) so it's visible when you look forward
- Round eyes — A slight upward flick elongates and creates an almond effect
- Downturned eyes — Angle your wing higher at the outer corner to visually lift
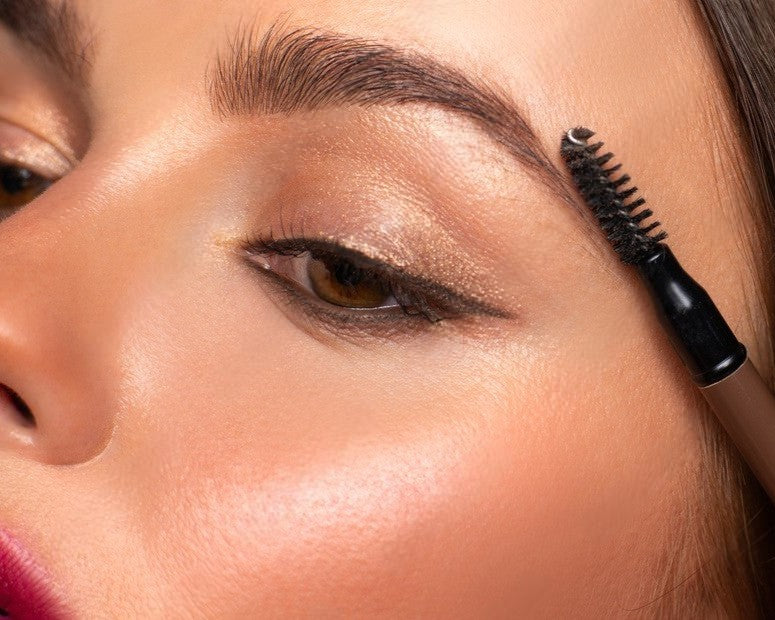
Tight-Lining for Natural-Looking Fullness
Tight-lining means applying liner directly to the upper waterline — the inner rim of your upper lash line. It makes lashes appear significantly thicker without any visible liner on the lid. Use a waterproof kohl or gel liner for the best, longest-lasting result.
2026 Liner Trends
- Blurred lower liner — smudge a pencil liner below the lower lash line for a moody, diffused effect that looks effortlessly cool
- Floating liner — a thin line placed above the crease (not the lash line) for an editorial statement
- Graphic cut-crease — precise gel liner defining the crease for bold, sculptural structure
- Colorful tight-lining — bright blue, forest green, or wine on the waterline for an unexpected pop of color
Step 4: Mascara — The Finishing Touch That Pulls Everything Together
Great mascara can take a simple eye look from flat to fully finished in seconds. Choosing the right formula and applying it correctly is what separates ordinary lashes from extraordinary ones.
How to Choose the Right Mascara Formula
- Lengthening mascara — best for short, straight lashes; adds length and fine definition
- Volumizing mascara — best for sparse lashes; builds thickness and fullness
- Curling mascara — best for straight lashes; holds a curl and lifts the eye
- Waterproof mascara — best for humid environments, workouts, and events; won't smudge or flake
How to Apply Mascara Perfectly
Step 1: Curl lashes before applying mascara for maximum lift. Hold the curler for 5–10 seconds at the base of the lashes.
Step 2: Wipe excess product from the wand to avoid clumping.
Step 3: Apply the first coat starting at the base of the lashes, wiggling the wand back and forth as you pull upward toward the tips.
Step 4: While the first coat is still slightly wet, apply a second coat for additional volume and length.
Step 5: Apply a third coat to the outer lashes only for a fanned-out, wide-eye effect.
Step 6: Run a clean spoolie through the lashes to separate any clumps.
For lower lashes, hold the wand vertically and use the tip to coat each individual lash for clean definition without smudging under the eye.
Tips by Lash Type
- Fine or sparse lashes — Apply a lash primer before mascara to build a base
- Straight lashes — Always curl first; use a curling formula to hold the lift
- Short lashes — Build up coats slowly, focusing on the tips to maximize length
- Long but thin lashes — Use a volumizing formula to add body without further lengthening
The Complete Eye Look: Step-by-Step Order
Applying products in the right order makes everything blend better and last longer:
- Eye primer — all over lid and brow bone
- Base eyeshadow — light neutral all over the lid
- Crease shade — mid-tone for depth
- Lid shade — shimmer or matte depending on your look
- Outer corner deepener — for dimension
- Inner corner and brow bone highlight
- Eyeliner — upper lash line, waterline, or wing
- Mascara — upper and lower lashes
Eye Makeup Removal: Don't Skip This Step
Just as important as applying eye makeup is removing it correctly at the end of the day.
Use a dedicated eye makeup remover or micellar water — never scrub. Soak a cotton pad and press it gently against the eye for 10–15 seconds to dissolve mascara, then gently wipe. Use a cotton swab to dissolve liner from the waterline. Follow with a gentle cleanser to remove all residue.
Sleeping in eye makeup consistently leads to eye irritation, blocked lash follicles, and lash breakage over time. It's one of the fastest ways to undo the work you've put into caring for your lashes.
Why Your Eye Makeup Products Matter
The difference between a look that lasts all day and one that creases, fades, or smudges within hours almost always comes down to formula quality. The pigmentation, blendability, and wear technology built into your products determines how your eye look actually performs.
At Everbeaut, we curate eye makeup products built for real-world wear — products that deliver true pigment, blend seamlessly, and keep you looking polished from morning through evening.
Final Thoughts
Eye makeup is one of the most rewarding beauty skills you can develop. Start with the basics — primer, a three-shade eyeshadow technique, clean liner application, and great mascara — and build from there. As your confidence grows, experiment with 2026's most exciting trends: blurred liner, glossy lids, colorful lower lash lines, and monochromatic looks.
The tools and techniques in this guide will take you from beginner to confident in less time than you'd think — especially when you're working with products that are formulated to perform.
Ready to elevate your eye look? Shop Everbeaut's full collection of eye makeup essentials and find your new go-to products today.
Written by Jake Mitzkovitz
